Polaroid Picture String
Hello Guys!
For this weeks DIY Sunday, I decided to do a DIY that I have been seeing all over the internet recently, A polaroid string thing! But you may be saying, "everybody's done that", so I have added my own twist on the idea, that I hope you will enjoy! This DIY is brilliant as decor, it can bring so much brightness, and personality to a room. I would just like to add that you can do this DIY with any pictures, so it's perfect for anyone!
 |
| For this DIY, you will need... .White card or paper. .Vibrant colouring pencils, markers, or felt tips. (note that when using markers, ink can bleed through the page. Use something to protect your work surface!) . String of your desired length. .Tape, (you can also use glue) |
 |
| Firstly, draw out your polaroid picture shape. It doesn't have to be perfect, having odd lines can give your design a unique, and personal touch, but if you prefer realistic and strait lines, that too can say something about you personally! I wanted to add a lot of my personality into what I designed, by using odd lines on each of my designs, I wanted to reflect how not everything has to be perfect for something to be good, if that makes any sense! |
 |
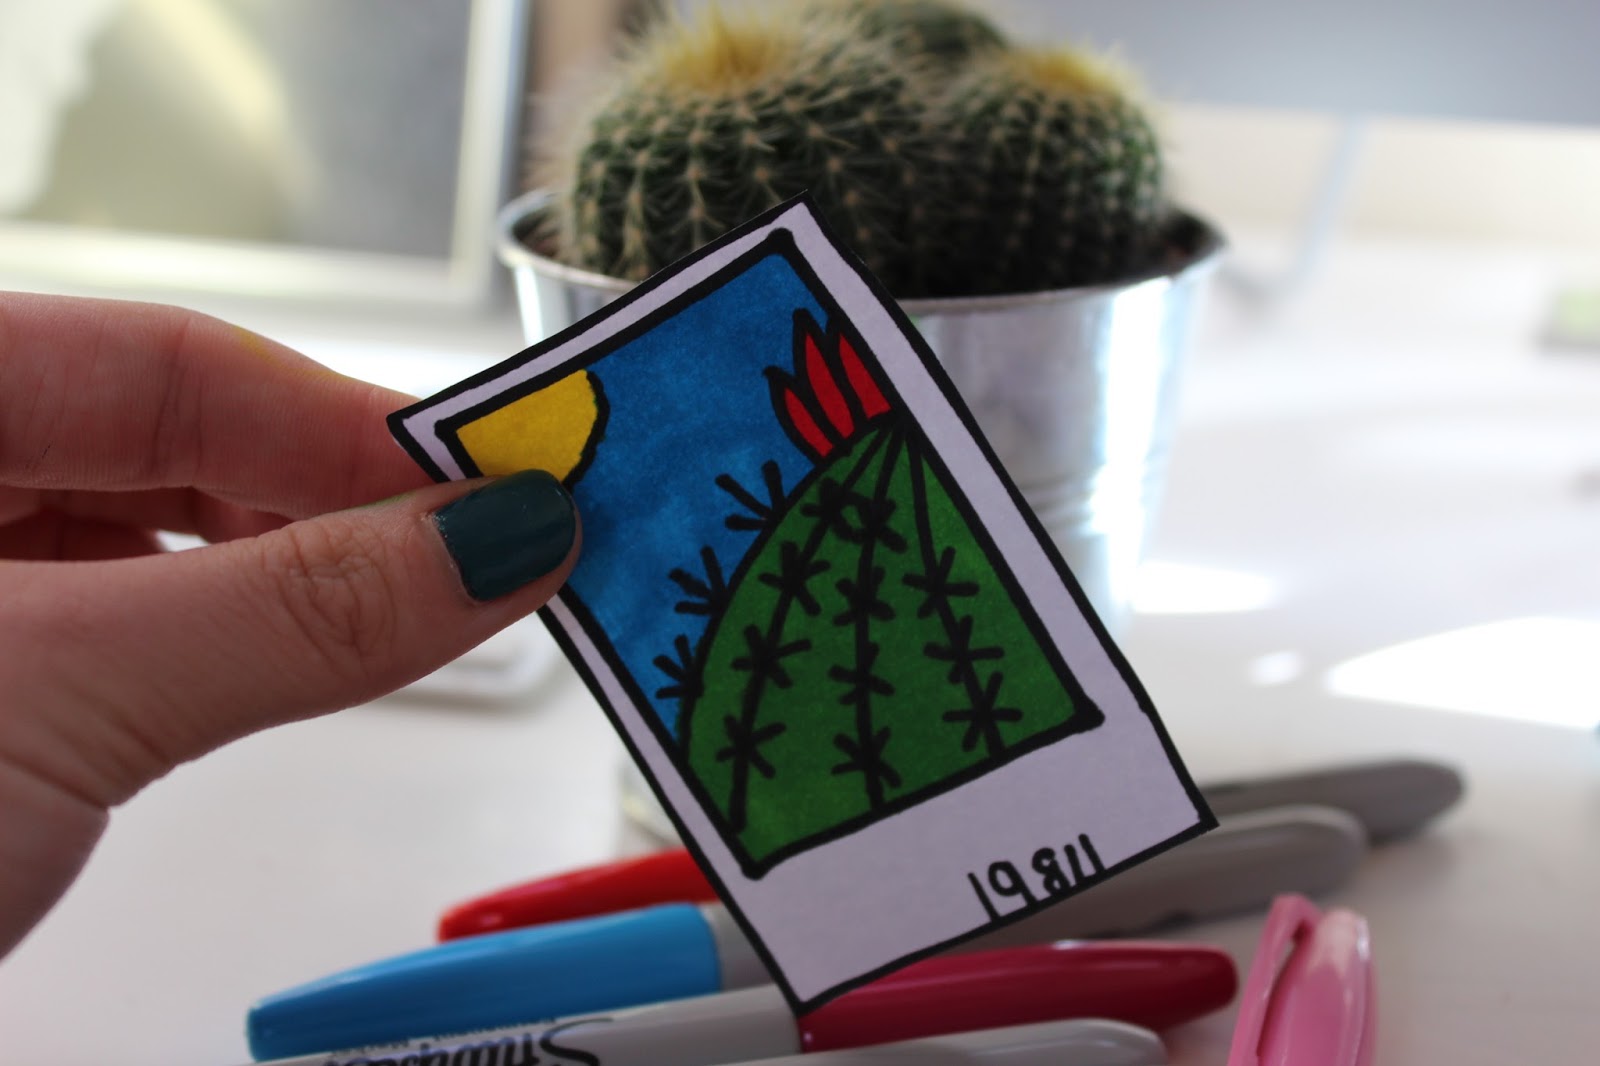
| Next, draw whatever you want inside your box, I chose the draw cactus inside my boxes, just because I love them! You can do whatever you want with your boxes, maybe write quotes, stick in pictures of your friends, or draw something that is a different aspect of your personality in each boxIf you are happy with your image being black and white, Leave it as it is. |
 |
| Once you have what you want in your box, cut out your picture, so you can use it as on outline for your other pictures! |
 |
| Here are my drawings, I myself am not the best at drawing, so I kept the design ideas simple!I tried to pack in as many vibrant colours as I could, to give it a bright cheery feel. I also tried to include some interesting angles, to keep it from looking basic! |
 |
| When you are happy with your pictures, carefully cut out the shapes. |
 |
| Place the now cut out shapes upside down under the string, and tape the string to your shape. If you don't have tape, cover a piece if paper in glue, and place it over the string, and rub it into the paper. When repeating this step, ensure that you place your pictures evenly apart. To do this, I use the length of my pinky finger, to measure the distance between them. |
 |
| Finally when you are finished, you can tape, nail, or blutac your string to your wall! |
 |
| I myself love how this turned out! It is a very bold and bright decoration that reflects my personality! The best thing about this is that there are so many things you can do with this idea! |
As always thank you for reading Ellagram! If you enjoyed this blog please feel free to share it, and comment. I'd love to see any of your interpretations, so please send then to me via instagram, @whatthewifi!
Bye and thanks for reading!
No comments:
Post a Comment